Spooky Halloween Marble Cake
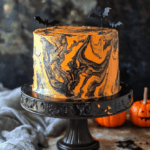
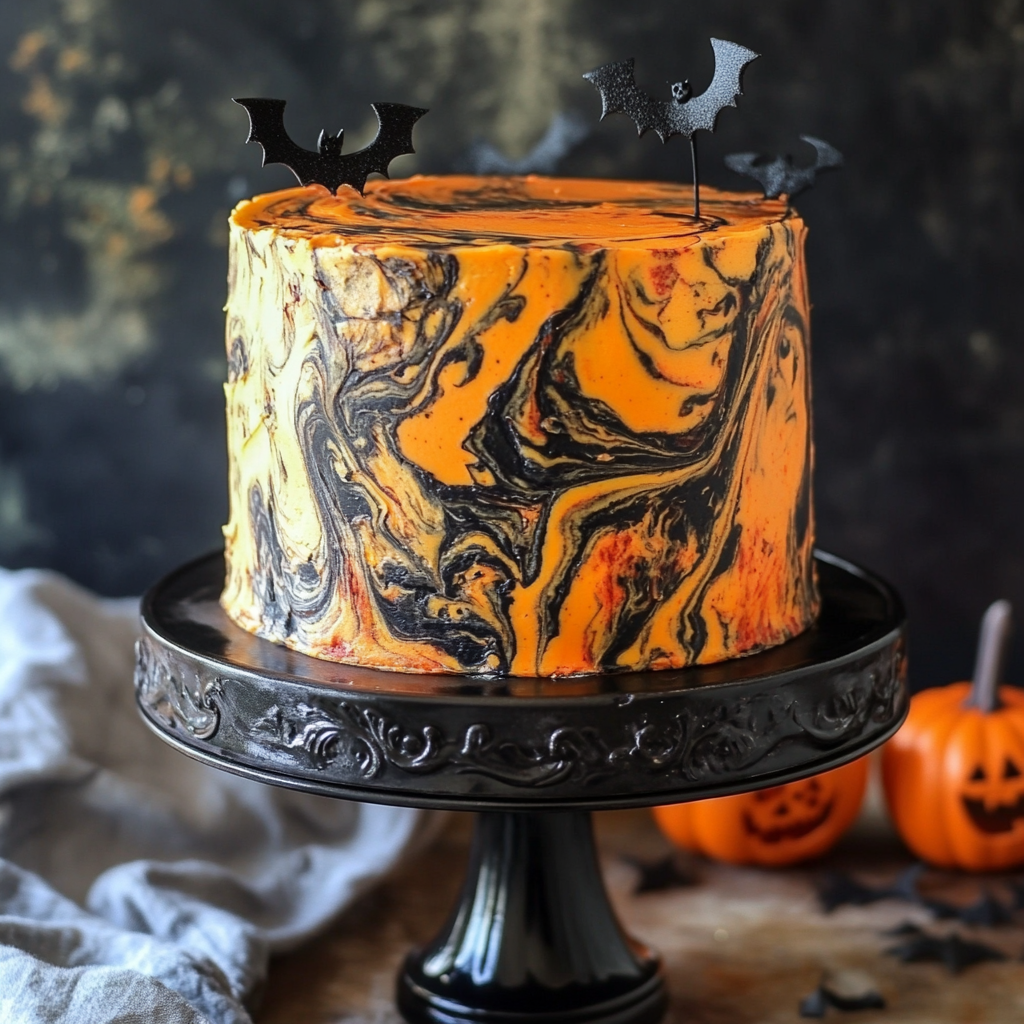
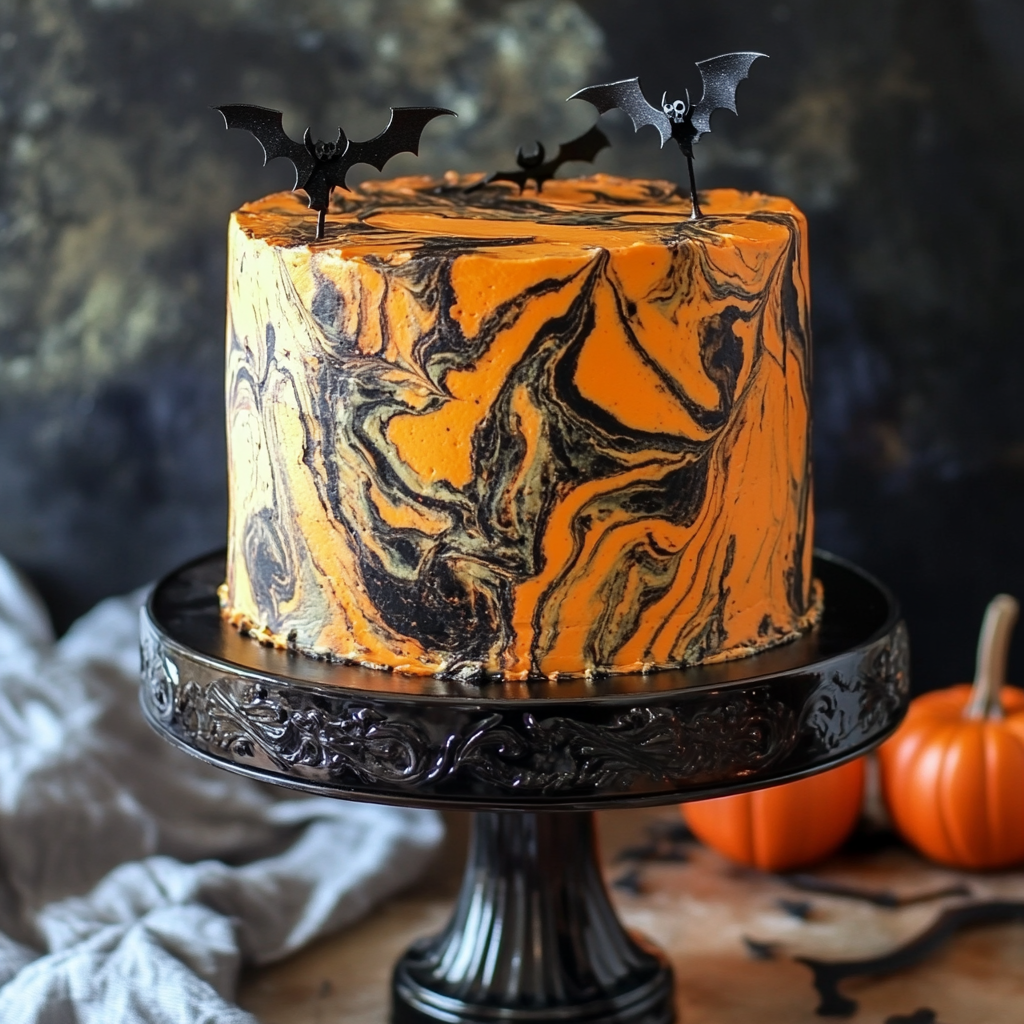
This Spooky Halloween Marble Cake is sure to be the centerpiece of your Halloween festivities! With its striking red and black marbled layers, this cake not only looks thrilling but also tastes delicious. Perfect for parties, gatherings, or just a fun treat, this cake features a playful design that includes drippy blood icing and spooky sprinkles. It’s an eye-catching dessert that will impress both kids and adults alike!
Why You’ll Love This Recipe
- Visually Striking: The combination of red and black creates a stunning contrast that captures the Halloween spirit.
- Delicious Flavor: A rich blend of chocolate and vanilla flavors makes every bite satisfying.
- Fun Decoration: The drippy blood and spooky sprinkles make it a perfect Halloween treat.
- Easy to Make: With straightforward instructions, even novice bakers can create this masterpiece.
- Versatile Serving Options: Perfect for parties, family gatherings, or as a festive gift.
Tools and Preparation
Preparing the Spooky Halloween Marble Cake requires some essential tools. Having the right equipment will ensure your baking experience is smooth and enjoyable.
Essential Tools and Equipment
- Stand mixer or hand mixer
- Mixing bowls
- Rubber spatula
- Measuring cups and spoons
- Baking pan (9×13 inch)
- Parchment paper
Importance of Each Tool
- Stand mixer or hand mixer: This tool helps achieve the perfect batter consistency by thoroughly mixing ingredients effortlessly.
- Mixing bowls: You’ll need these for combining dry and wet ingredients separately before mixing them together.
- Rubber spatula: Ideal for scraping down the sides of your mixing bowl to ensure all ingredients are well incorporated.
- Baking pan: A sturdy pan is essential to hold the cake’s shape during baking.
Ingredients
To create your Spooky Halloween Marble Cake, gather the following ingredients:
For the Cake
- 2 1/4 cups (293g) all purpose flour
- 2 1/2 tsp baking powder
- 1/4 tsp baking soda
- 1/2 tsp salt
- 1/2 cup (112g) unsalted butter, room temperature
- 1/2 cup vegetable oil
- 1 1/2 cups (310g) sugar
- 1 tbsp vanilla extract
- 4 large eggs
- 1 cup (240ml) buttermilk
- 5 oz bittersweet chocolate (60% cacao), chopped
- Black gel icing color
- Red gel icing color
For the Frosting
- 2 1/4 cups (504g) unsalted butter
- 8 cups (920g) powdered sugar
- 1 cup (114g) natural unsweetened cocoa powder
- 2 tsp vanilla extract
- 5-7 tbsp (75-105ml) water/cream
- 1/4 tsp salt
- Black gel icing color
For Decoration
- 4 oz red Wilton candy melts
- 2 tbsp heavy whipping cream
- Sprinkles (see notes)
How to Make Spooky Halloween Marble Cake
Step 1: Prepare Your Oven
Preheat your oven to 350°F (175°C). Grease your baking pan with butter or cooking spray. Optionally, line it with parchment paper for easier removal later.
Step 2: Mix Dry Ingredients
In a medium bowl, combine the all-purpose flour, baking powder, baking soda, and salt. Whisk together until thoroughly blended.
Step 3: Cream Butter and Sugar
In a large mixing bowl, beat together the unsalted butter, vegetable oil, and sugar using a stand mixer or hand mixer until light and fluffy. This should take about 3-5 minutes.
Step 4: Add Eggs and Vanilla
Add in the eggs one at a time while mixing on low speed. Then incorporate the vanilla extract until everything is well combined.
Step 5: Combine Wet Ingredients
Alternately add in the dry mixture and buttermilk to your creamed mixture. Start with dry ingredients then add buttermilk. Repeat until everything is mixed well.
Step 6: Prepare Chocolate Mixture
Melt bittersweet chocolate in a microwave-safe bowl in short bursts until smooth. Allow it to cool slightly before adding it to half of your cake batter.
Step 7: Create Marble Effect
Divide the batter into two bowls—one with plain batter and one with chocolate batter. Use a spoon to drop spoonfuls of each batter into your prepared pan. Use a knife or skewer to swirl through gently for a marbled effect.
Step 8: Bake
Place in preheated oven for about 20 minutes or until a toothpick inserted in the center comes out clean.
Step 9: Cool Down
Remove from oven and let it cool in the pan for about 10 minutes before transferring it to a wire rack to cool completely.
Continue with frosting instructions in subsequent sections!
How to Serve Spooky Halloween Marble Cake
Serving your Spooky Halloween Marble Cake can be as fun and creative as making it! This cake is not only delicious but also visually striking, making it a perfect centerpiece for any Halloween gathering. Here are some serving suggestions to make your presentation even more festive.
Creative Platter Presentation
- Arrange slices of marble cake on a spooky-themed platter, adding fake cobwebs or plastic spiders for decoration.
Pair with Whipped Cream
- Serve with a dollop of whipped cream on the side to balance the sweetness of the cake and add a creamy texture.
Ice Cream Delight
- Offer scoops of vanilla or chocolate ice cream alongside the cake for a delightful contrast in flavors.
Themed Plates and Utensils
- Use Halloween-themed plates and utensils to enhance the spooky vibe when serving each slice.
Serve with Hot Beverage
- Pair slices with hot apple cider or pumpkin spice lattes for a comforting fall treat.
How to Perfect Spooky Halloween Marble Cake
To achieve the best results with your Spooky Halloween Marble Cake, follow these helpful tips. They will ensure that your cake is moist, flavorful, and visually appealing.
- Use Room Temperature Ingredients: Make sure butter and eggs are at room temperature before mixing to create a smoother batter.
- Measure Flour Correctly: Spoon flour into measuring cups instead of scooping directly from the bag to avoid dense cake.
- Don’t Overmix Batter: Mix just until combined for a light and fluffy texture; overmixing can lead to a tough cake.
- Keep an Eye on Baking Time: Check doneness by inserting a toothpick in the center—if it comes out clean, it’s ready!
- Let Cool Before Frosting: Allow the cake to cool completely before applying frosting to prevent melting and sliding.
Best Side Dishes for Spooky Halloween Marble Cake
Adding side dishes can elevate your dessert experience! Here are some delightful options that pair perfectly with your Spooky Halloween Marble Cake.
- Pumpkin Soup
A warm, spiced pumpkin soup provides a comforting contrast to the sweetness of the cake. - Roasted Vegetables
Seasoned roasted vegetables add a savory note that complements dessert nicely; try carrots and Brussels sprouts. - Apple Crisp
A warm apple crisp offers cinnamon-spiced goodness that pairs well with the rich marble cake. - Cheese Platter
An assortment of cheeses can balance sweetness; include sharp cheddar or brie for variety. - Fruit Salad
A refreshing fruit salad made from seasonal fruits can cleanse the palate after rich desserts. - Savory Puffed Pastry Bites
These can serve as delicious finger foods; consider fillings like spinach or cheese for added flavor. - Chocolate-Covered Pretzels
Salty snacks dipped in chocolate provide a crunchy contrast that is irresistible alongside cake. - Mini Sandwiches
Prepare small sandwiches with various fillings for guests who want something savory before dessert.
Common Mistakes to Avoid
When making the Spooky Halloween Marble Cake, it’s easy to make a few common mistakes. Here are some pitfalls to steer clear of.
- Not measuring accurately – Baking requires precise measurements. Use a kitchen scale or measuring cups for accuracy to ensure the right texture.
- Using cold ingredients – Cold butter or eggs can affect the batter’s consistency. Always bring your ingredients to room temperature before mixing.
- Overmixing the batter – Overmixing can lead to a dense cake. Mix until just combined for a light and airy texture.
- Skipping the cooling time – Allow the cake to cool completely before frosting. This prevents melting and ensures a neat finish.
- Ignoring oven temperature – An inaccurate oven temperature can alter baking times. Use an oven thermometer to ensure proper heat levels.
Storage & Reheating Instructions
Refrigerator Storage
- Store the cake in an airtight container.
- It will stay fresh for up to 5 days in the refrigerator.
Freezing Spooky Halloween Marble Cake
- Wrap individual slices tightly in plastic wrap and then in aluminum foil.
- The cake can be frozen for up to 3 months.
Reheating Spooky Halloween Marble Cake
- Oven – Preheat to 350°F (175°C) and warm slices for about 10 minutes.
- Microwave – Heat on medium power for 15-20 seconds until warm.
- Stovetop – Place a slice in a covered pan over low heat for about 5 minutes.
Frequently Asked Questions
What makes the Spooky Halloween Marble Cake special?
The combination of red and black marbling gives this cake its spooky theme, making it perfect for Halloween celebrations.
Can I use different colors for marbling?
Absolutely! Feel free to experiment with other gel icing colors or even natural food dyes for different festive looks.
How do I achieve perfect marble swirls?
Gently drop spoonfuls of each color into the pan, then use a skewer or knife to swirl them together without over-mixing.
How long does it take to bake?
The total baking time is approximately 20 minutes, but always check with a toothpick inserted into the center; it should come out clean when done.
Can I make this cake vegan?
You can substitute eggs with flaxseed meal mixed with water and use plant-based milk instead of buttermilk while maintaining other ingredients as listed.
Final Thoughts
This Spooky Halloween Marble Cake is not only visually stunning but also deliciously moist and flavorful. It’s perfect for impressing guests at any Halloween gathering. Feel free to customize it by adding different decorations or flavors that suit your preferences!
Spooky Halloween Marble Cake
Get ready to impress your guests with a Spooky Halloween Marble Cake, the ultimate centerpiece for your Halloween celebrations! This visually captivating cake features striking red and black marbled layers, enhanced by drippy “blood” icing and playful sprinkles. Not only does it look thrilling, but it also boasts a delightful blend of rich chocolate and vanilla flavors that is sure to satisfy both kids and adults alike. Perfect for parties, gatherings, or as a fun treat, this cake is easy to make and will leave everyone wanting more!
- Prep Time: 20 minutes
- Cook Time: 20 minutes
- Total Time: 40 minutes
- Yield: Serves approximately 12 slices 1x
- Category: Dessert
- Method: Baking
- Cuisine: American
Ingredients
- 2 1/4 cups (293g) all purpose flour
- 2 1/2 tsp baking powder
- 1/4 tsp baking soda
- 1/2 tsp salt
- 1/2 cup (112g) unsalted butter, room temperature
- 1/2 cup vegetable oil
- 1 1/2 cups (310g) sugar
- 1 tbsp vanilla extract
- 4 large eggs
- 1 cup (240ml) buttermilk
- 5 oz bittersweet chocolate (60% cacao), chopped
- Black gel icing color
- Red gel icing color
- 2 1/4 cups (504g) unsalted butter for frosting
- 8 cups (920g) powdered sugar for frosting
- 1 cup (114g) natural unsweetened cocoa powder for frosting
- 2 tsp vanilla extract for frosting
- 5–7 tbsp (75-105ml) water/cream for frosting
- 1/4 tsp salt for frosting
- 4 oz red Wilton candy melts for decoration
- 2 tbsp heavy whipping cream for decoration
- Sprinkles for decoration
Instructions
- Preheat your oven to 350°F (175°C) and grease a 9×13 inch baking pan.
- In a medium bowl, whisk together flour, baking powder, baking soda, and salt.
- In a large bowl, cream together the unsalted butter, vegetable oil, and sugar until light and fluffy.
- Add eggs one at a time followed by vanilla extract. Mix until combined.
- Alternately add the dry mixture and buttermilk to the creamed mixture until well combined.
- Melt bittersweet chocolate and allow it to cool slightly before mixing into half of the batter.
- Drop spoonfuls of plain batter and chocolate batter into the prepared pan; swirl gently with a knife or skewer.
- Bake for about 20 minutes or until a toothpick inserted in the center comes out clean.
Nutrition
- Serving Size: 1 slice (85g)
- Calories: 350
- Sugar: 30g
- Sodium: 150mg
- Fat: 18g
- Saturated Fat: 10g
- Unsaturated Fat: 8g
- Trans Fat: 0g
- Carbohydrates: 43g
- Fiber: 1g
- Protein: 4g
- Cholesterol: 65mg

